Atrac3 files are used on the PSP for game sounds and preview sounds when hovering over items on the XMB. These files are labelled SND0.AT3. Making custom Atrac3 files can allow you to customize your items in your games list so games or emulators could have an enhanced experience when browsing your XMB. It isn’t for everyone but it’s something to check out if you want to have an alternate feel to your PSP. Some games or emulators may even have an annoying sound you don’t want to hear every time while browsing your games list.
Download
Creating A Compatible Audio File
There are three steps to this guide. Creating a compatible Atrac3 sound file, converting it to Atrac3, and adding it to a PSP game in ISO or Eboot format.
Download AT3 Tool and Audacity. Unzip the contents of AT3 Tool into a folder and install Audacity. Find an mp3 file you want to use for this too, something like a song cover for the game you are going to replace or your favourite song.
Open the MP3 in Audacity. You are going to want to trim anything you don’t want to use right away (select part of the audio clip and hit the delete key). Don’t be too exact as you might need or want to leave some room to work with. Once trimmed, press CTRL+F to adjust the view to fit the screen. Use SHIFT+SPACE to loop the audio to test it. I will be using Fuck Cops by Gland as an example. I want to only use the first 5 seconds before the drums kick in and I want to loop it. Once you are satisfied with your edits go to File and Export as WAV. Make sure the encoding is 16-bit PCM. Don’t export anything more than 30 seconds. You may have to come back to this step to trim a little more off as there is a limitation on the PSP.
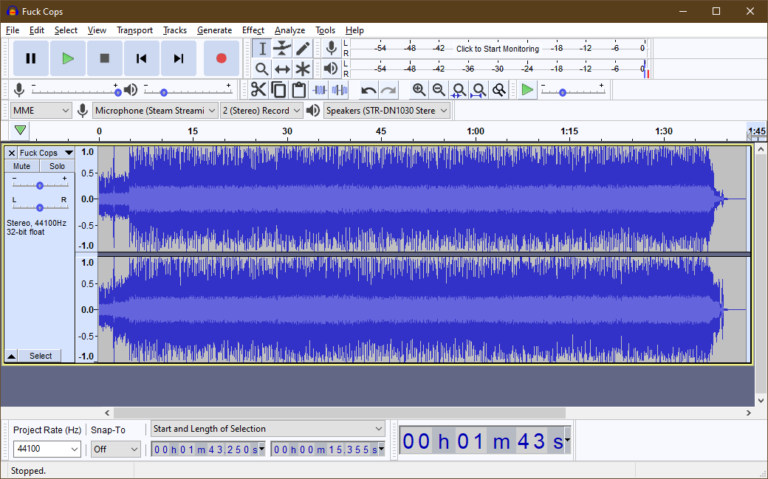
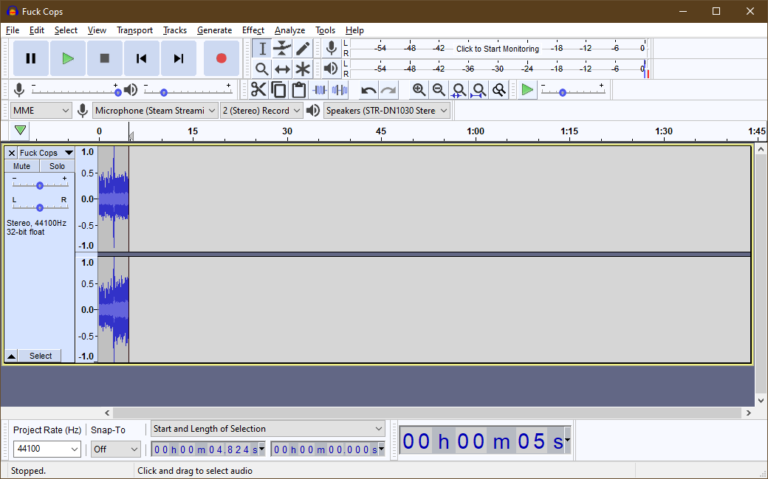
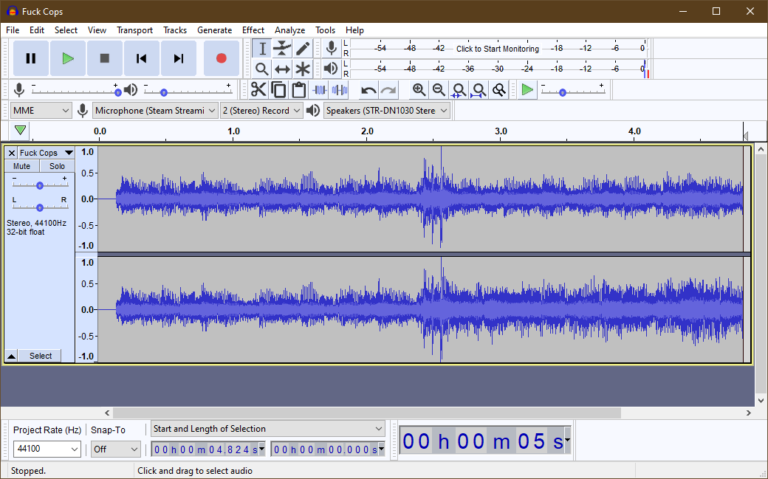
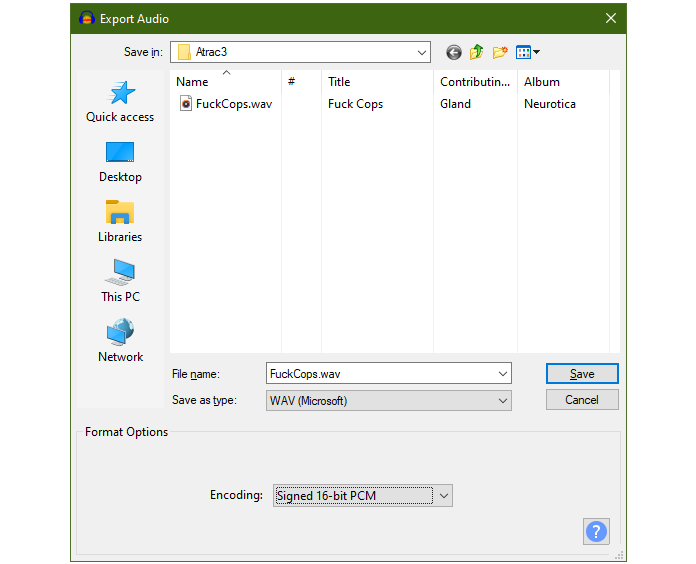
This is my audio file after trimming it in Audacity. It sounds better on the PSP with no gap before it loops.
Converting Your Audio File
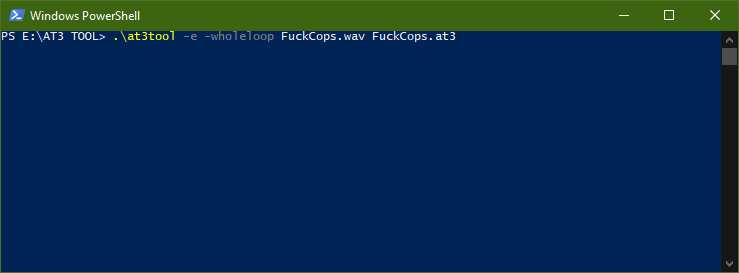
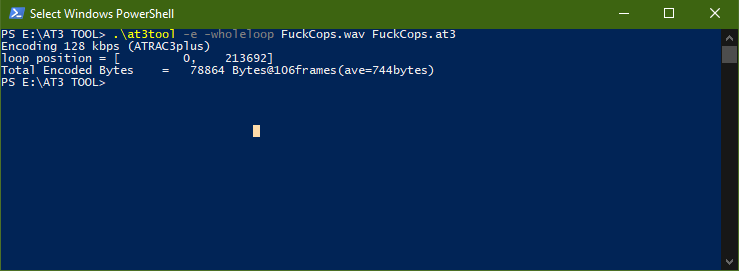
Move the converted WAV file to the same folder as at3tool. Hold Shift and right click in any open area and click “Open PowerShell window here”. Type .\at3tool to view all possible command arguments. I want to convert my .wav file to .at3 and make it loop so I will enter:
.\at3tool -e -wholeloop FuckCops.wav FuckCops.at3
The command above calls at3tool.exe to encode the Wav file as an At3 file and loops the whole audio file to repeat on the PSP. Replace the filenames in the command above with your filename. Rename the converted file as SND0.at3
You will end up with an At3 file that can now be played on the PSP. Note that the file size cannot be more than 500kb and if the game has an ICON1.PMF file (the preview picture is a small clip) both together must not equal 500kb.
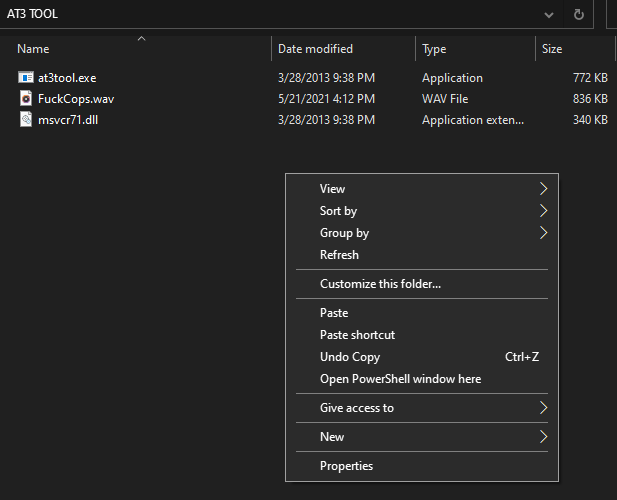
Adding Audio To A PSP Game
Adding the converted audio is easy as you are replacing what was there for the game or just dragging in the file and saving your changes. UMDGen is required for ISO games and PBP-Upacker is required for EBOOT.PBP games (eg. Emulators).
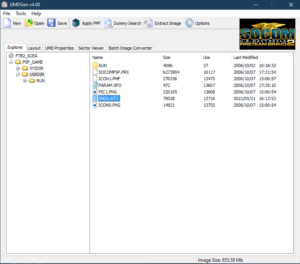
Open UMDGen and open the ISO file of the game to edit. Open PSP_GAME drag in the converted file named SND0.at3. It will either replace what is currently there or if the game never had such file you just include it so the PSP knows to play it. The file must be named SND0.at3 to be read. You may need to replace the same file in USRDIR as well.
Once the changes are made, save as an uncompressed ISO file.
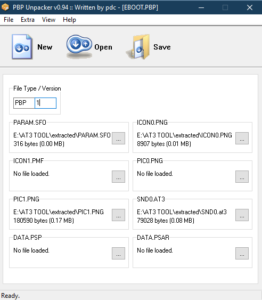
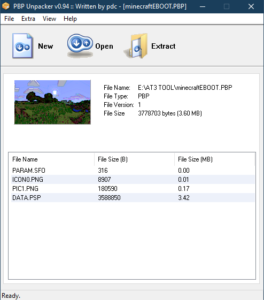
Open PBP-Unpacker and click open and select the EBOOT.PBP of the game you want to edit. Click Extract and choose a folder to put the contents. Once extracted, click New in PBP-Unpacker. Load all files that were extracted with the matching file names. Choose the custom converted SND0.at3 file and click save. Save the file as EBOOT.PBP. Replace the new EBOOT.PBP file with the old one.
